

My newest project, and also one of my oldest, is the dog food timer. My wife and I sometimes wind up with disconnected morning or evening schedules, and this could sometimes result in the dog missing a feeding or being fed twice. There are many ways to solve this problem, but of course I chose to build an electronic one.
I first built this timer in late 2012. The first iteration used wire taped to aluminum foil to sense when the lid of the food container was opened and closed. This was read by an Arduino, which would show how long it had been since the last several times that the container was opened on a multi-line text display. I never got a photo of the text display, but this is what that foil switch setup looked like.

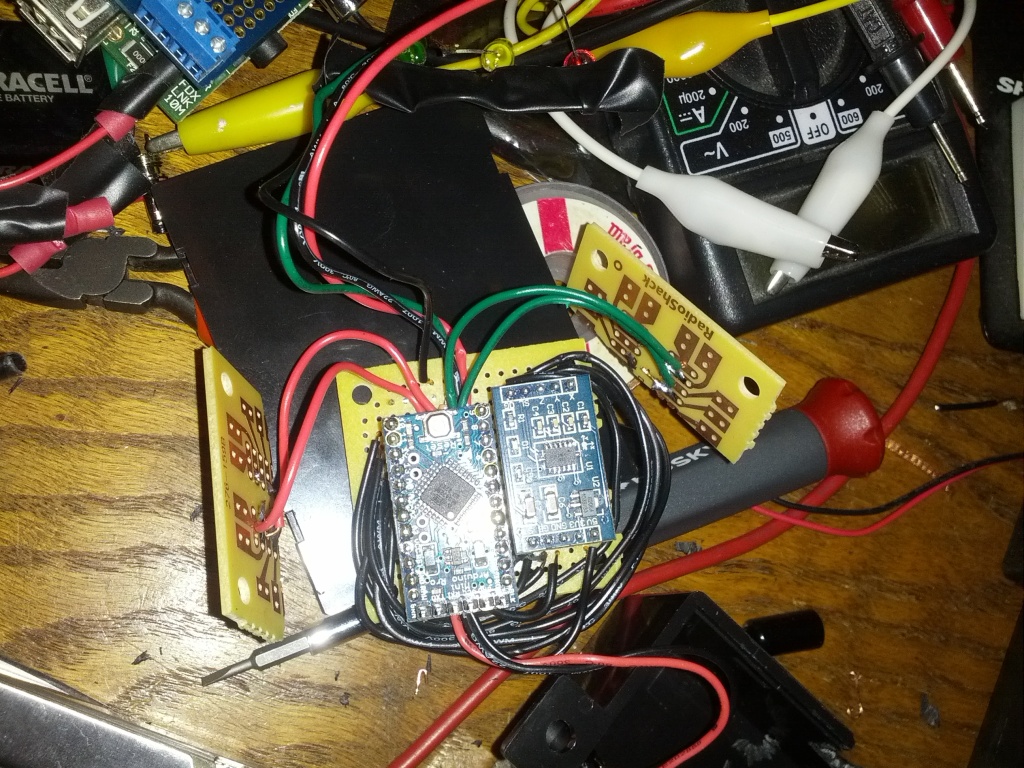
The giant text display had an RGB backlight, which I configured to show green/yellow/red depending on how long it had been since the dog had last been fed, and it quickly became clear that this was all we actually needed. In a knee-jerk reaction to the cost and complexity of my first overengineered solution, I took a swing at doing the whole thing with 3 LEDs and a few discrete chips (and maybe just a couple of 555 timers). Totally doable, but I wanted a little more functionality. In the end, I settled on an Arduino Pro Mini (my favorite for many years), an accelerometer left over from the robot costume project, two pushbuttons, and three LEDs. This has been in production with every dog we’ve had (two) from 2012 until this week.
The build for this project is janky as heck. The bare wires of the LEDs are loosely insulated with electrical tape, one of the buttons sticks out through a crudely dremmeled opening, both buttons are pressed toward the outside of the case by a random piece of foam… it’s just a mess. I’ve been wanting to redo it for a while.
I was thinking about this on Saturday when I realized that the Adafruit Circuit Playground Express has everything I need for this project! Its 48MHz ARM Cortex M0 is more than enough, it has a circle of NeoPixel LEDs, two pushbuttons, an accelerometer, and a piezo speaker. It’s perfect.

With all those bright LEDs, I could implement the color display in a much cooler way. This is what the new timer looks like when it’s time to feed the dog.

The clear plastic case that Adafruit sells for the Circuit Playground Express has a nice 1/4-20 (camera tripod standard) metal nut that made it trivial to attach the board to the underside of the container’s lid. So much cooler to light up the whole thing! Bonus: it shows us how much food is left in there, too.

I ported the timer code from C++ (for the Arduino) to CircuitPython. This was my first real project using CircuitPython on the Circuit Playground Express, and I found the whole system very easy to work with. Download the CircuitPython firmware, plug the board into your computer, double-click the reset button, and then drop the firmware image onto the drive that shows up. Once the file is there, the board will reboot, and then a new drive will appear. On this drive is a file named “code.py”, and every time you write to this file, the board runs it. It also offers console over serial, including an interactive environment for experimenting with the behavior of these particular libraries running on this particular version of Python. This is an amazing way to quickly build an embedded device.
Adafruit provides a Python module for their boards that makes interfacing with the hardware simple and convenient. Create an instance of the module, then just read the property “button_a” to know if the button is being pushed or “acceleration” to get a tuple of x, y, and z acceleration. I couldn’t find an obvious abstraction for button clicks, but I found a pattern that I like. One feature of their module that I did not find in any of the examples is cp.were_pressed. This is a property that returns the set of buttons that are being pressed. Combined with a little bit of set arithmetic, this gave me rock solid debounced button clicks.

As always, the full code for this project is on github: https://github.com/erickhammersmark/dogfoodtimer. Here’s the new timer in action.

Update: “were_pressed” was removed from Adafruit’s CircuitPython library for the Circuit Playground Express boards. Here’s how to do the button press detection nicely without “were_pressed”.
def buttonx(self, button): return getattr(cp, "button_{}".format(button)) presses = set(filter(self.buttonx, ["a", "b"]))LikeLike