DEF CON 29 happened in Las Vegas, NV from August 5 to August 8, 2021. DC28 was entirely virtual. This year, the conference operated in a hybrid model, and in-person attendees were required to demonstrate proof of vaccination and to mask whenever in conference spaces. This strategy was enormously successful, and DC29 did not function as a COVID super-spreader event. I attended, and because I was going to mask the entire time, I decided to lean into it.

I started with a 3M 6503QL “Rugged Comfort” respirator, a pair of 3M 6001 filter cartridges, 501 translucent filter retainers, and P95 filters. This respirator is pretty comfortable, supported by a head strap and pulled snug by a neck strap. It has a quick-release mechanism that removes tension on the head strap and lets it hang loosely below my face. Most importantly, those filter cartridges provide plenty of room for components.

I wanted this mask to do something, and just covering it in der blinkenlights was not enough. I thought about making it wifi reactive (visualizing observed deauths, for example), or offering an open web service that people nearby could use to modify the behavior of the lights. In the end, I decided that it would be really cool if it could visualize its core function by changing the color of the lights as I breathe in and out.

To detect breathing, I used the atmospheric pressure sensor from a Bosch BME680 atmospheric sensor (in an Adafruit breakout board). I needed this mask to be an actual safety device suitable for protecting myself and those around me, so I removed all of the valves and plugged the unfiltered output hole (after several attempts, I went with carved pencil eraser). This created enough of a pressure differential inside the mask—low pressure when I breathe in, high pressure when I breathe out—that I could detect it with the sensor and use it to inform the behavior of the lights. Here’s an early test of the concept: the lights turn green when the pressure drops below a threshold and red when the pressure rises above a threshold.
To start, I hollowed out the filter cartridges. Each cartridge has a hole on one side where it links up with the mask, a thin filter layer, densely packed charcoal, another filter layer, and then a thick plastic mesh. On top of this would go one more P95 filter and a translucent retainer. I clipped away a big piece of the plastic mesh and emptied the charcoal. I also wound up cutting away some supporting structure inside the cartridge and in the hole that passes through to the mask. This gave me space to fit the components with enough room left for me to breathe.

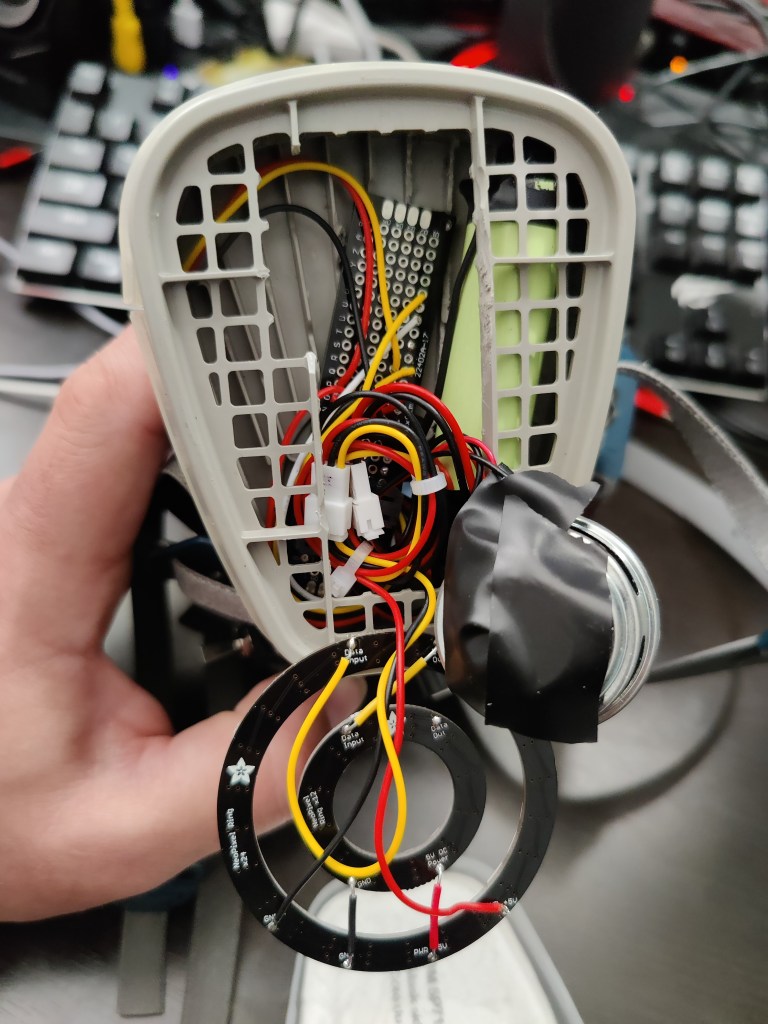
For maximum bling, I wrapped the perimeter of each cartridge in Neopixel LED strips and put two nested Neopixel rings behind each outer P95 filter. I had originally planned to use a Dotstar strip for the perimeter lights, but when I couldn’t find the rings in Dotstar lights, I decided the whole thing may as well be Neopixels. One fewer library, and I could control it all from one pin. Unfortunately, I forgot that I had ordered RGBW lights for the rings, and I had already glued RGB strips around the cartridges and wired all of the lights in series: Arduino → rings on its side → strip on its side → across my nose → rings on that side → strip on that side. 3-byte-per-pixel and 4-byte-per-pixel strips are not interoperable, and I had to rewire the lights so that the rings were all in series on one pin and the strips were in series on another pin. Still just one library, but two strip objects to manage. Wiring between the cartridges was not a problem, as I had already plumbed the crossover connectivity with one extra wire just in case.

Lots of lights means lots of power, so I decided to power the mask with two 18650 lithium cells (eventually pared down to one). Please note: improper physical or electrical handling of these cells can render them literally explosive. I do not recommend that you wear one on your face, and if I ever modify this project, the first thing I will do will be to change the power system.
I knew it would be hard for people to hear and understand me while wearing this thing, so I designed in an audio system. I combined a little electret microphone breakout with a tiny 2.5W audio amplifier. I ordered two pairs of little speakers, one pair of flat, tinny speakers and one pair of heavier loudspeakers. I decided I could only really fit the thin ones (this was incorrect), but they sounded terrible, and I scrapped the feature.
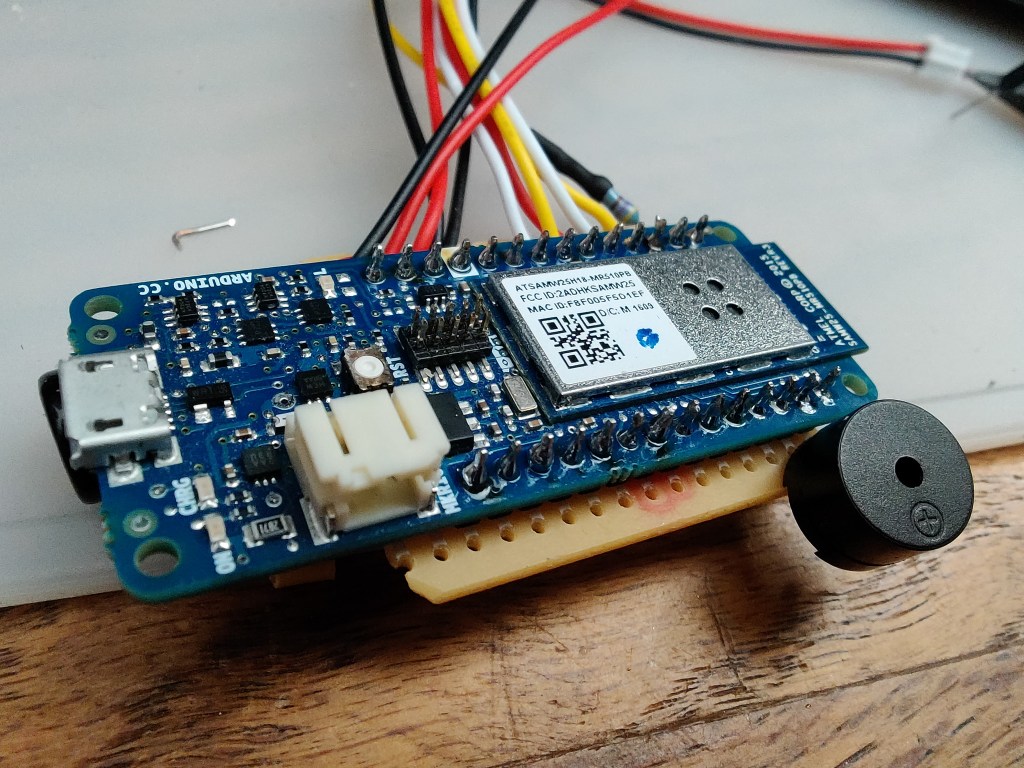
I originally intended for this project to use a pair of 18650s, one in each filter cartridge, with the microcontroller (an Arduino MKR1000 Wifi) on one side and a power distribution board on the other. I didn’t think I had enough space on the Arduino’s side for the cell (I did), so I wound up with a single cell powering the Arduino and all of the lights. This worked well, and I never ran out of battery, even with hours of use.

I had a bunch of these neat little rotary encoders, so I drilled a hole right in the front of the mask and stuck a knob on it. The knob also works as a clicky switch, so I could use code to detect left turns, right turns, clicks, and long presses.

This device uses quadrature encoding to let you determine both speed and direction of the knob using only 2 pins + ground. As you turn it, two switches connected to the two pins fire out of phase with each other. If you see switch A fire, then both of them, then switch B, then none again, that’s one entire 4-phase cycle in one direction. If B fires first, then both, then A, then none, that’s one cycle in the other direction. Of course, because the switches are mechanical and the Arduino is not infallible, you need to account for errors: you might see the same state change more than once, and you might miss some state changes altogether. I put together a few implementations and tested out several libraries, and I ended up with an interrupt-driven model using a library called QDEC.
I didn’t want the lights to simply be green or be red as I was breathing in and out; I wanted them to have their own behaviors that were influenced by the breathing. I threw together a simple system for applying sin, cos and tan to red, green and blue with a flexible set of time and brightness parameters. Then I used the difference between measured pressure and a moving baseline to apply a multiplier to the red or green brightness. The end result was that the lights twinkled blue when air pressure was nominal and tended red or green when the pressure was newly different.
After wearing this for the first time at DEF CON, it was clear that no one could hear me at all and that even a poorly functioning audio system would be better than none. I had brought the parts for the audio system with me, and I added them back to the mask. I went with a single larger speaker over the two tiny ones, which I think helped a little with clarity. I hit a new snag, however, when I tried to test the system: the lights wreaked havoc with the audio! The PWM mechanism the Neopixels use to maintain their intensities modulated the supply voltage to the amplifier, which brought that modulation directly into the audio output. It was almost musical. To fix it, I managed to jam the second 18650 into the Arduino side of the mask just to run the audio system. I gated this with a little toggle switch, jammed that into a piece of foam, and used that piece of foam to replace the pencil eraser that was stopping up my breathe-out hole. Now I had a switchable speaking system! While this did sometimes mean the difference between being heard and not being heard, I still wound up lowering the mask when I really needed to be understood.
After wearing this mask for a few hours the next day (linecon, a brief visit to the swag line, roaming around the villages), I figured out the next few changes I needed to make. One, it was DRIPPING wet inside, so I had to double mask for the rest of the conference. This was fine, as I often needed to drop the mask down in order to communicate.

Second, I wanted to go to an LGBTQA+ social event that afternoon, and I thought a rainbow motif would be appropriate. I stole the rainbow code from another LED project (similar to the light boxes I built for the boys, which was itself adapted from Adafruit’s strandtest example). I added it to my too-complicated control scheme, and it worked great.
The last change was harder: the mask was HEAVY and left a deep red mark on my nose. I needed to cut weight.

I popped it open and looked for stuff I could rip out. One obvious way to make it lighter was to reduce my use of plugs and connectors with excess wire and to instead cut the lines to size and solder them together. This cost me my ability to take the mask apart, but it worked. I also pulled the 18650 running the audio system and replaced it with a much smaller 3.7v cell. I so infrequently had the audio switched on, this worked out just fine and saved a bunch of weight. I had no significant comfort issues with the mask for the remainder of the conference.

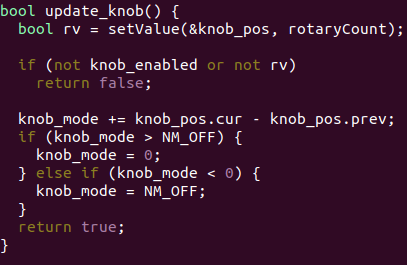
Like always, I built way more flexibility (and therefore complexity) into the UI for this project than I actually needed. I built the control system around the one clicky knob. The knob had a set of modes, and clicking the knob switched it from operating in a mode to selecting a new mode. I stuck a piezo buzzer in there to emit some quick little beeps, letting me know when I was in “pick a new knob behavior” mode and to let me know which mode I was selecting. But it turned out that I couldn’t hear the piezo outside of my quiet room, so changing any setting became a drawn out sequence of click, spin, click, spin, click, spin until the knob was in the right mode and I then got the behavior change I wanted. It was just silly. On the first full day of DEF CON, in the afternoon, I had some downtime, and I didn’t want to hole up in my room. I made my way to one of the “chill out” rooms and sat down to code a new UI for the mask. I think I spent about 10 minutes coding and 90 minutes chatting with the nice people who joined me at the table or stopped to ask about the mask. I simplified the system dramatically: clicking the knob turns the knob on and off (when it’s off, spinning it does nothing), and spinning the knob when it’s on changes between light behaviors (breathing, rainbow, or off).
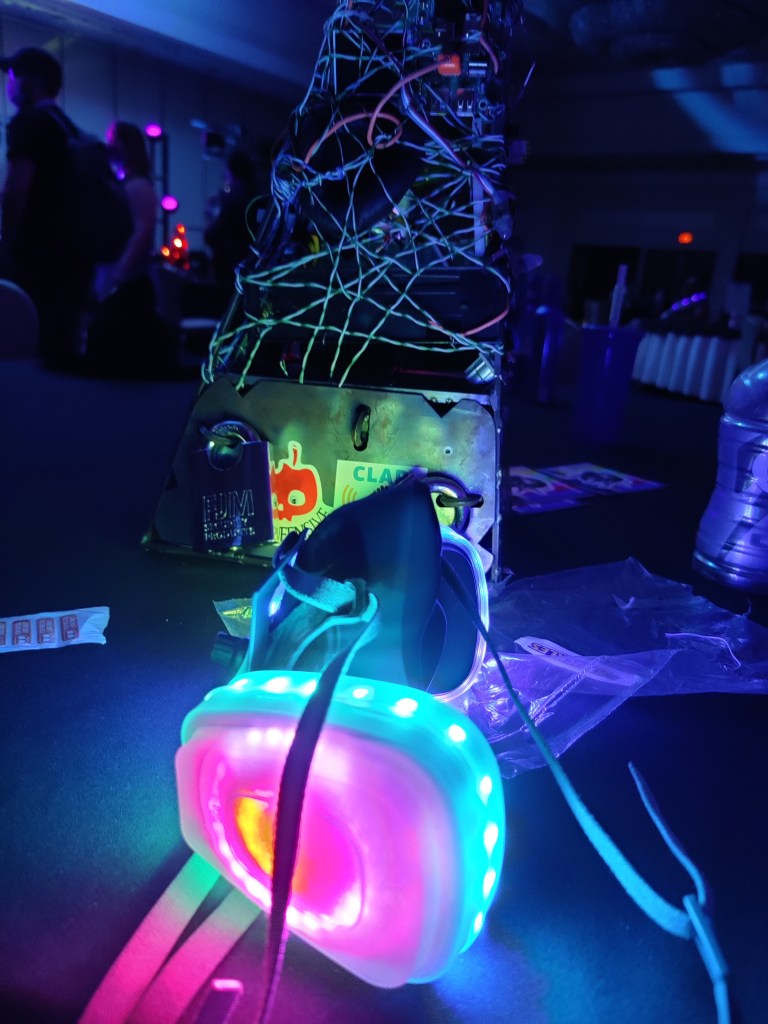
After the second full day of the conference, I was ready to go to the MC Ohm-I show (awesome DJs to follow), and I thought it would be super cool if I could make my lights react to sound. I was a little short on time, so I quickly wired the mic board output and the amplifier disable pin to the Arduino. I got the system buttoned up and headed down to Drunk Hacker History, where I sat in the back and worked on the audio reactive code. I whipped up the algorithm, flashed the Arduino, and nothing. No sound reaction in the lights. After some debugging, I found that the audio from the mic board wasn’t being read by the Arduino… because I gave them different power systems and they therefore did not share ground. Nuts. I was not about to hike all the way back to my room and miss the show.

So I went to the show with no sound reactive lights, and the show was fun. I hadn’t seen MC Ohm-I or Kadesh Flow before and they were great, but I was still bummed that my quick hack had fallen flat. Enter: the DEF CON chill out room centerpieces. While I would never steal anything from them or purposefully destroy an art piece, I didn’t think it would do much harm to borrow a little of this wire. I had my leatherman on me, so I just clipped about 4″ of wire out, stripped the ends, popped my mask open and did something terrible. It worked.

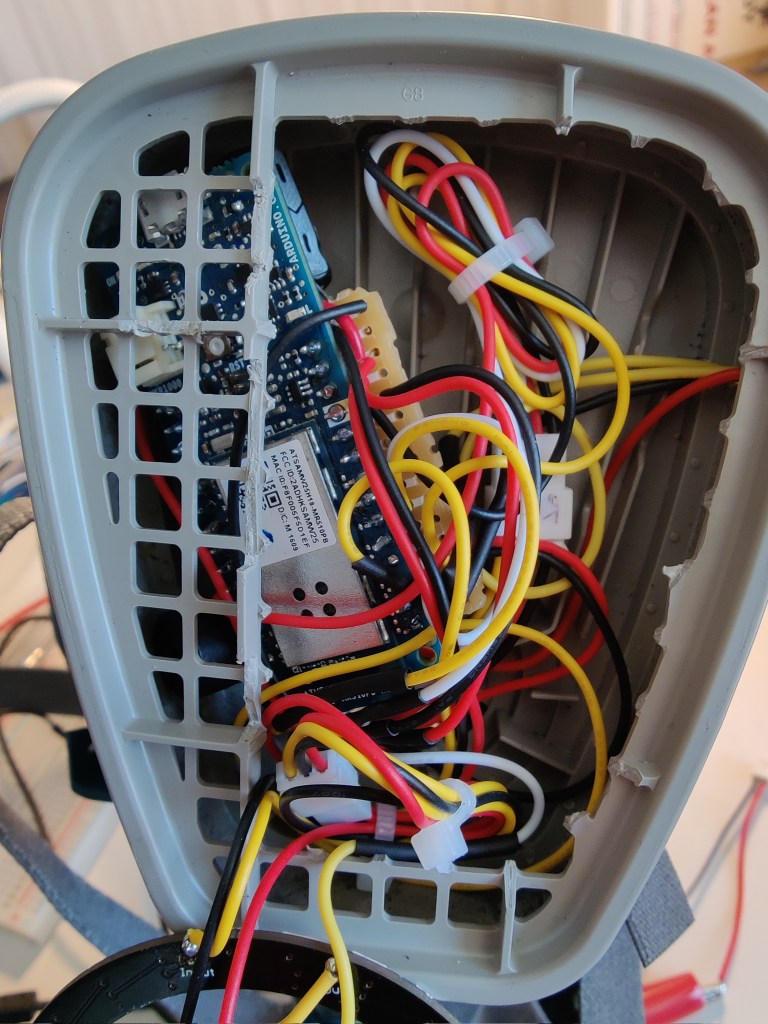
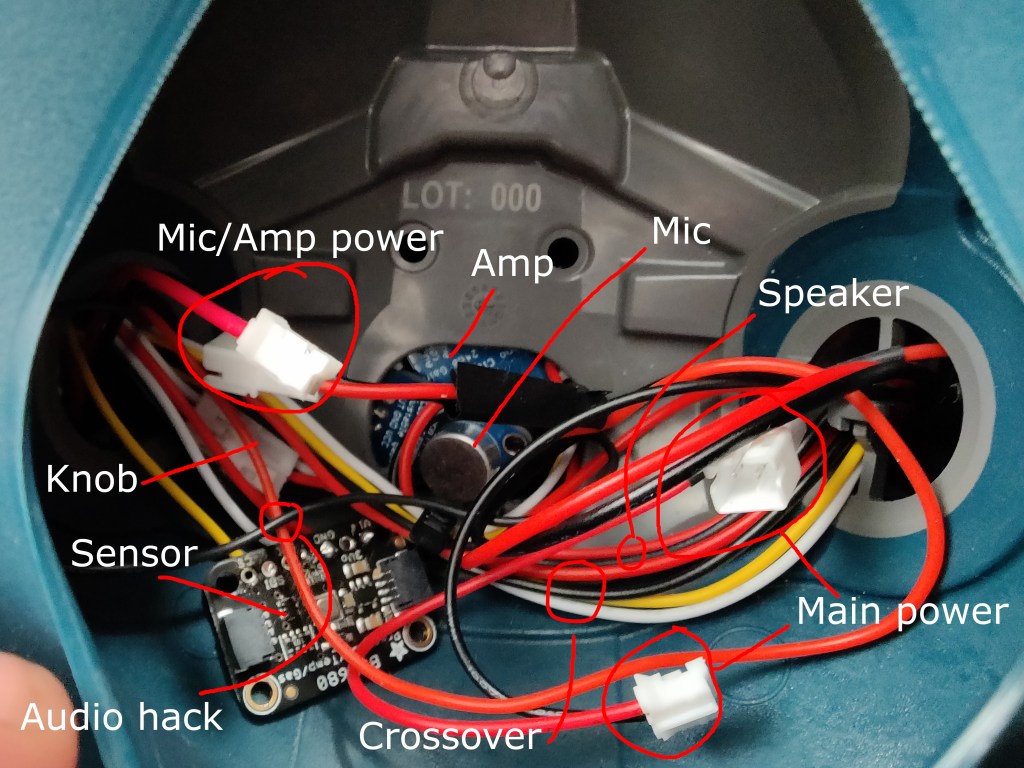
A lot of connectivity happened inside the part of the mask where my face also was. I didn’t have a main power switch, so I ran the battery connection out of the cartridge and into the facemask, letting me plug and unplug the battery without popping off the filter cover. This was also how I accessed the battery for charging. The audio power could stay connected when not charging because I had a chin mounted power switch for that. Also sharing space with my nose and mouth were a crossover cable (carried power right to left, LED signaling left to right), the speaker cable, the pressure sensor, the cable connecting the knob, the microphone, and the two extra wires I added to let the Arduino hear the microphone and disable the amp. Because I double masked when wearing this, I wasn’t bothered by it at all.
Here’s a look at the distribution board in the right filter cartridge. I had originally built this to hold two 18650s in parallel, but the project didn’t work out that way. It was really useful to have the extra space on this board when I needed to rework the LED wiring (one strip to two) and when I wanted to plumb power to the reinstalled audio hardware (which I later ripped out because of the PWM noise). In retrospect, I should have looked at this side for zip tied dead weight to cut. I could have lost the last half inch or so of the PCB, too.

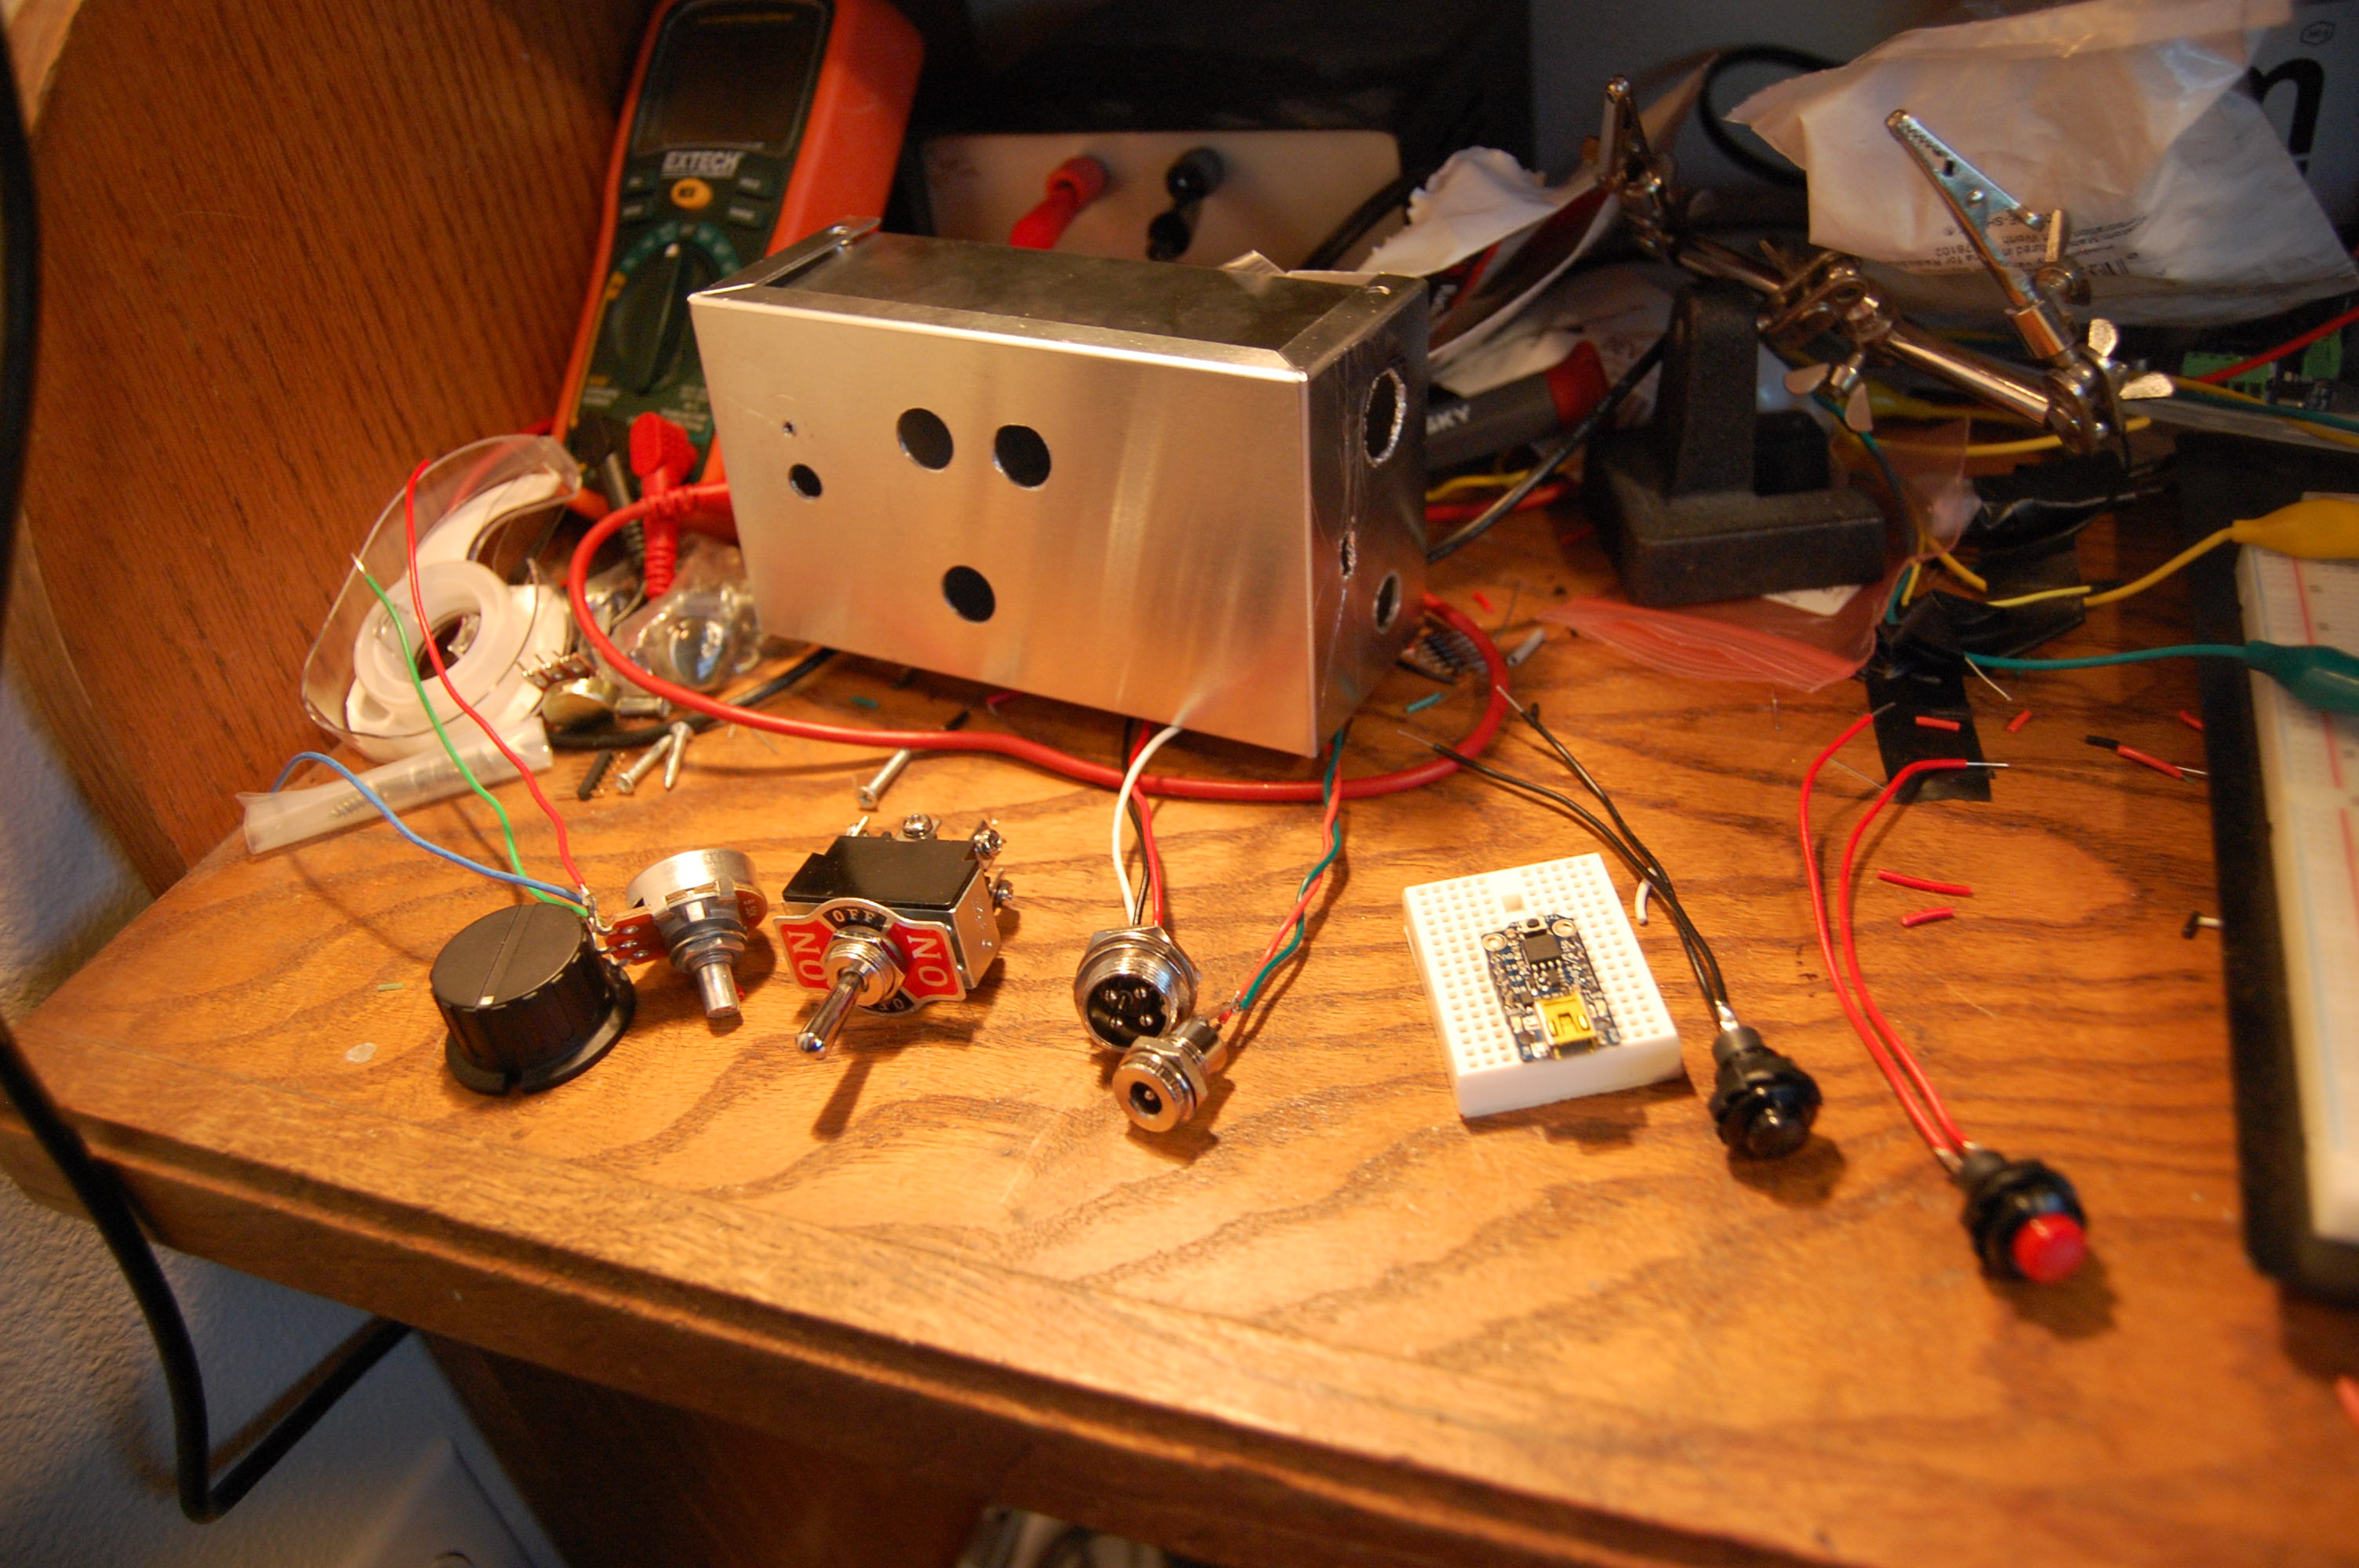
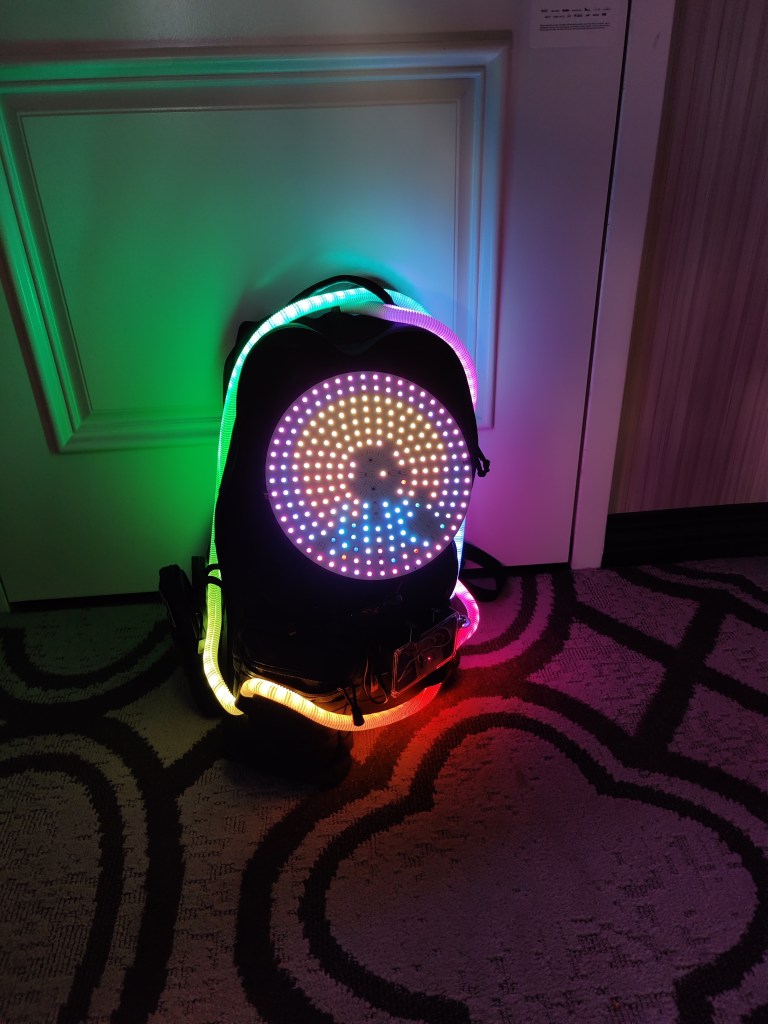
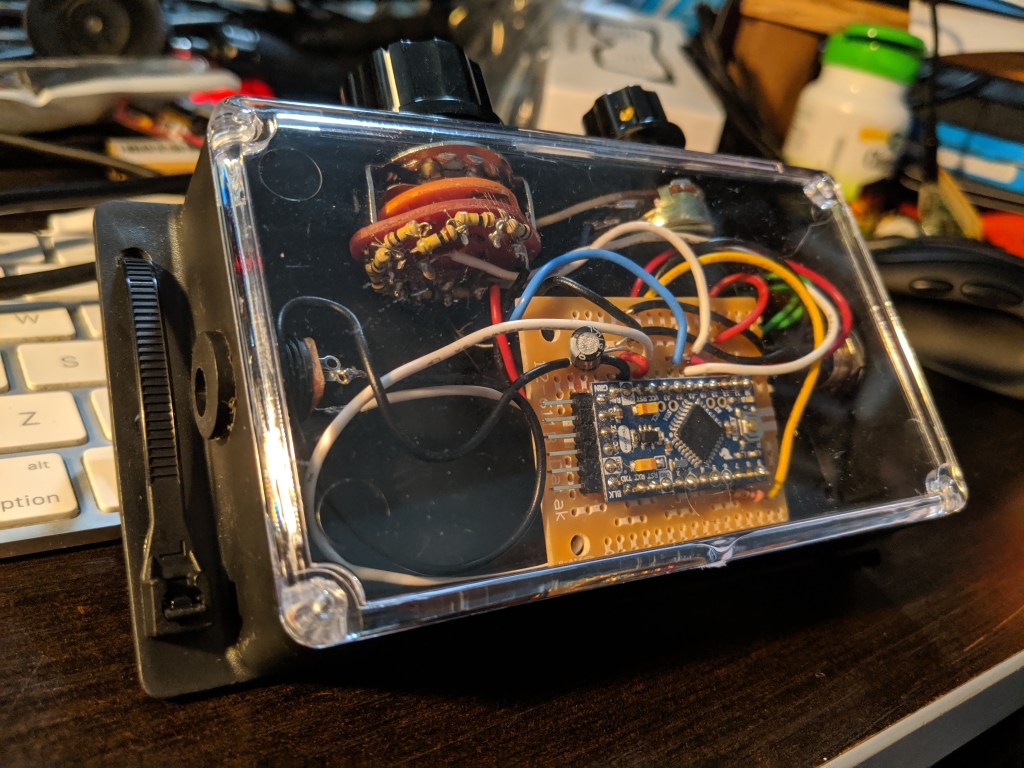
Behold the chaos of my hotel room workbench. It got even messier than this. I was really proud of how selective and correct I was about what parts and tools to bring and what to leave behind (I did bring two oscilloscopes, but they are both very small). The white cable management hose (which is full of LEDs) and the LED disc beneath it both go on my backpack. The disc has an on-board Raspberry Pi and is controlled by the same software that runs the Hawks sign. The hose has a goofy little Pro Mini-based control box with a lovely 10-way switch for behavior selection.

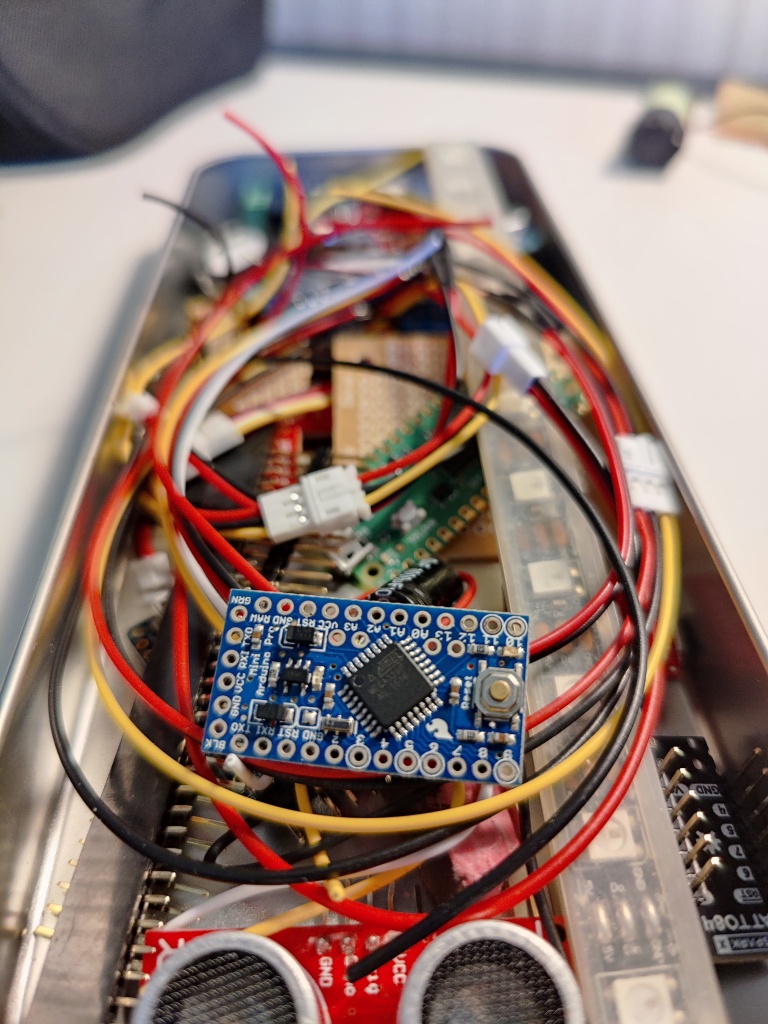
Post conference, I have been cleaning up the code. There were some bits that I put in a framework for and never built, and I removed most of them. One of them, I decided to complete instead: brightness adjustment. In the course of disassembling the mask for photography and also modifying and testing the software, I managed to break the mask completely. No lights, no controls, nothing. I poked at it for a couple of very disappointing days before I buckled down and got systematic. In the end, the hardware problems amounted to 3 broken solder joints. On the software side, the Arduino IDE picked up a test file that I had created in the project’s directory, and this was interfering with the correct operation of the real code. I fixed the joints, flashed the Arduino, and it’s back to full functionality.

As long as I had it on the bench, I decided to pull the speaker and the amp, remove the audio power system and just run the mic off the main power. This let me also pull the chin switch and get my nice chunk of carved pencil eraser back in there. So the mask no longer makes noises, but it can still react to them, and it has only one cell to charge. Time to find a nice spot for this to live, clean off the bench, and figure out what’s next.
As usual, the code is on github.


